
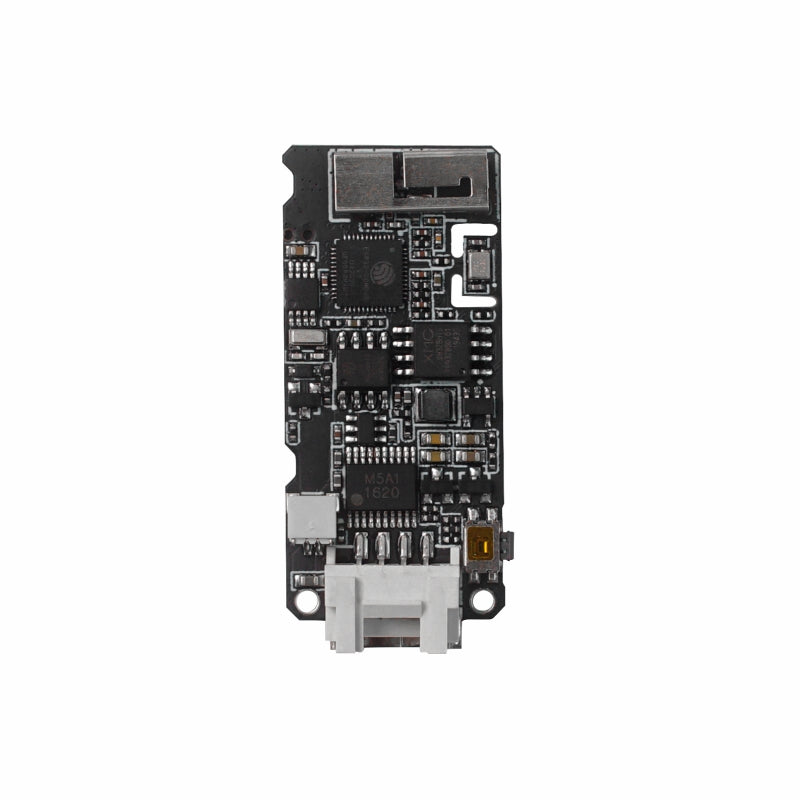

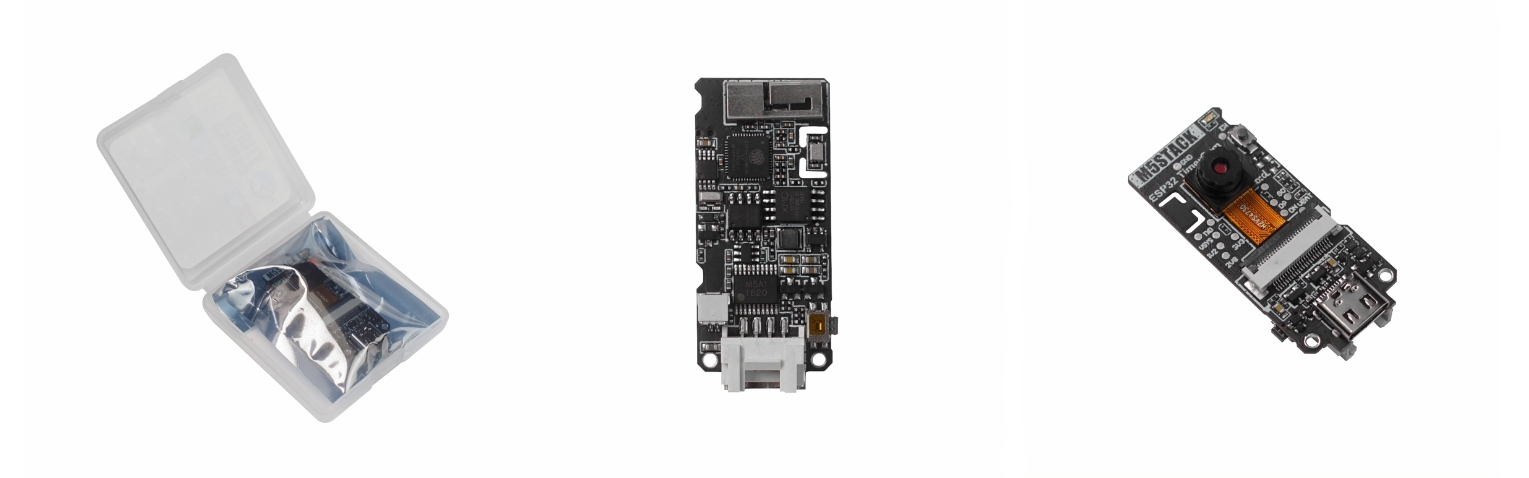
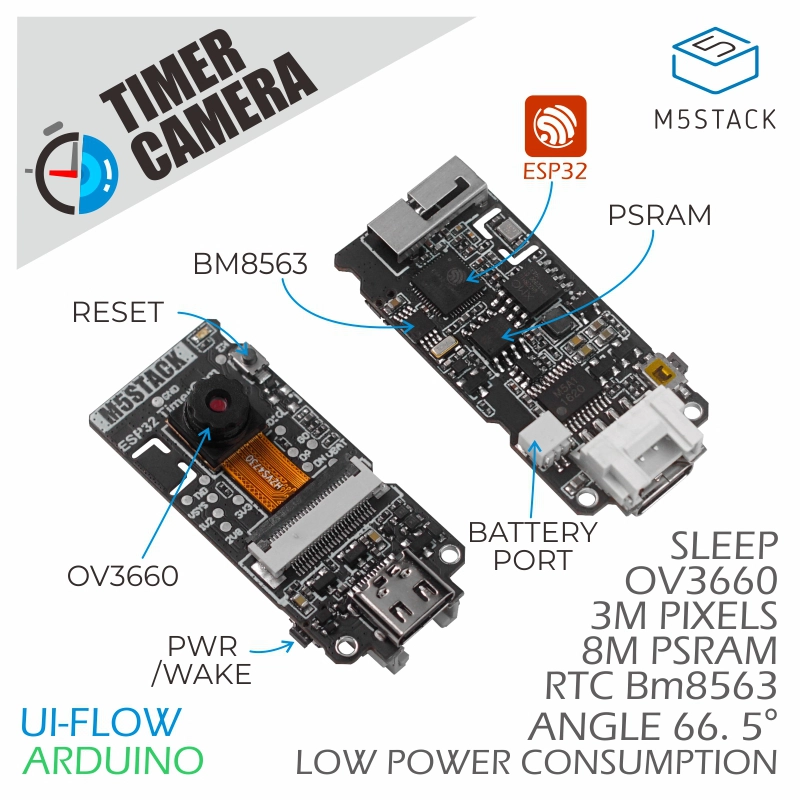
M5Stack Timer Camera is a camera module based on the ESP32 with 8MB of integrated with PSRAM. The 3 million (3MP) pixel camera (ov3660) ,DFOV 66.5 ° and can shoot a maximum of 2048×1536 resolution photos. There is a LED status indicator and reset button on the board. Timer Camera is designed to have ultra-low power consumption. Through the use of the RTC (BM8563), timing, sleep and wake-up functions can be utilized.
In sleep mode, the current consumption of the whole machine is only 2μA. After the scheduled photo taking function(one photo per hour) is turned on, the battery can work continuously for more than one month. The module supports Wi-Fi image transmission and USB port debugging. The bottom HY2.0-4P port output can be connected to other peripherals. In order to facilitate DIY, the battery interface is reserved on the board. Using the M5Burner firmware burning tool, time-cam can be set directly with the Camera-Tool, and TimerCamera data can be processed in UIFlow.
The low-power power management solution adopted by the Timer Camera series is different from the CORE and StickC devices. When in use, the PWR button is used as a power-on button(long press 2s). If you need to shut down the device, you need to use the software API or press the Reset button on the PCB.When using external power supply, the device will remain powered on.
Product Features
- Design based on ESP32
- Wi-Fi image/video transmission
- Timed sleep wake up
- Status indicator
- Ultra low power design
- Programming platform:ESP-IDF/Arduino/UIFlow
Applications
- Take pictures regularly
- Remote video monitoring
Video
Learn
Examples
Arduino
ESP-IDF
Firmware
You can download and burn firmware with M5Burner
Tutorial
- Camera-Tool
- UIFlow – Media Trans
- UIFlow – UART/TIMER
- Arduino IDE
- TimerFolderPusher
- Timer Amazon S3 FolderPusher
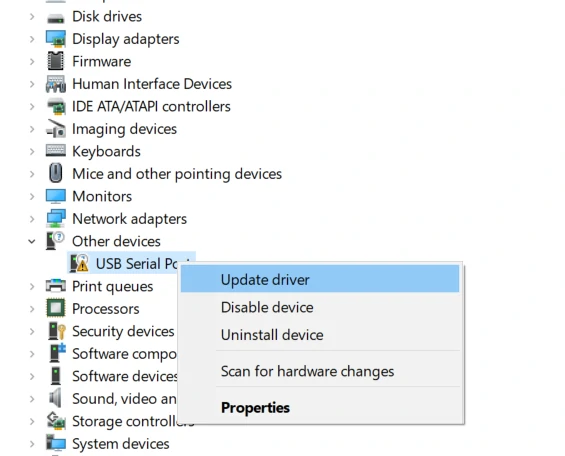
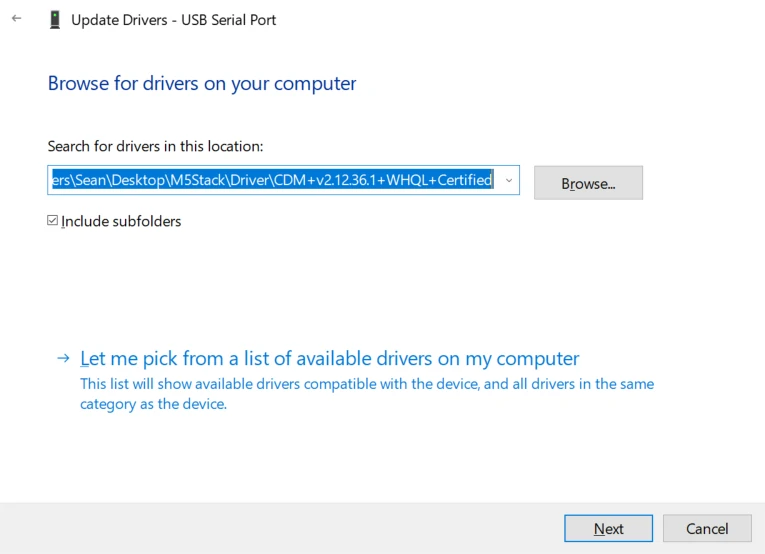
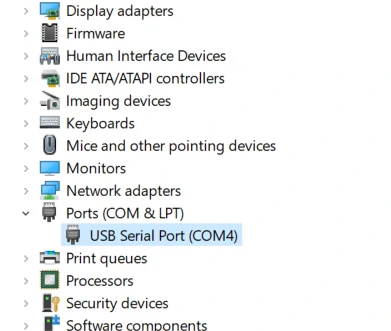
Driver Installation
TimerCAM may not work without drive in some systems. Users can manually install FTDI Driver to fix this problem. Take the win10 environment as an example, download the driver file that matches the operating system, unzip it, and install it through the device manager. (Note: In some system environments, the driver needs to be installed twice for the driver to take effect. The unrecognized device name is usually M5Stack or USB Serial. Windows recommends using the driver file to install directly in the device manager (custom Update), the executable file installation method may not work properly).
Focus adjustment
Brown out protection
Arduino
#include "soc/soc.h"
#include "soc/rtc_cntl_reg.h"

void setup() {
  WRITE_PERI_REG(RTC_CNTL_BROWN_OUT_REG, 0); //disable   detector
}
ESP-IDF
idf.py menuconfig
Component config->ESP32-specific->Hardware brownout detect & reset(disable)
Reviews
There are no reviews yet.