What is LILYGO T-Embed CC1101?
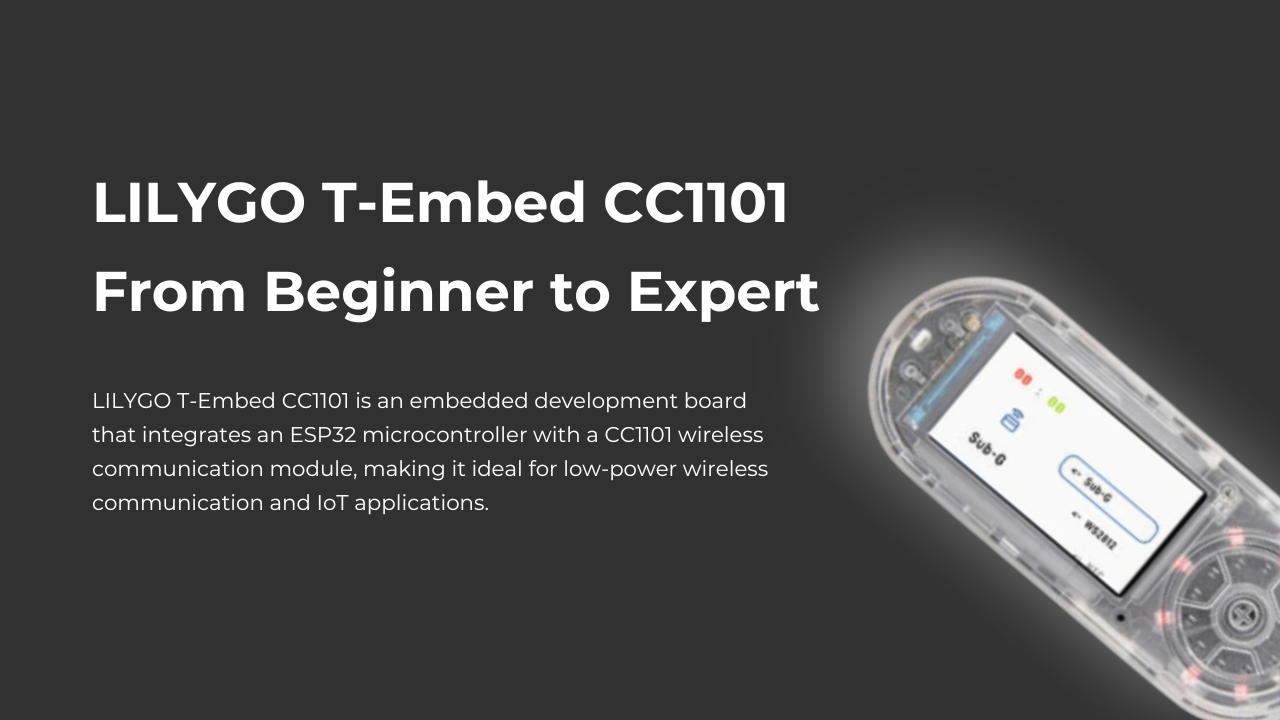
LILYGO T-Embed CC1101 is an embedded development board that integrates an ESP32 microcontroller with a CC1101 wireless communication module, making it ideal for low-power wireless communication and IoT applications. It supports multiple modulation modes, including LoRa, FSK, and GFSK, and operates at frequencies such as 315MHz, 433MHz, 868MHz, and 915MHz. It is suitable for wireless data transmission, remote control, and environmental monitoring.
Purchase link: LILYGO T-Embed CC1101

LILYGO T-Embed CC1101
The Lilygo T-Embed CC1101 is a versatile embedded development board designed for IoT and wireless communication projects. It features a built-in Sub-GHz module based on the CC1101 transceiver chip, with an integrated radio antenna that enables wireless communication over a maximum range of 50 meters.
T-Embed CC1101 Firmware Overview
T-Embed CC1101 uses the ESP32 as its main controller and supports development environments such as Arduino and PlatformIO. Official open-source firmware is available, making it easy to develop applications for wireless data transmission, mesh networking, and remote control.
Reference the official firmware: GitHub T-Embed CC1101
How to Flash Firmware on LILYGO T-Embed CC1101 (Step-by-Step Guide)
Since T-Embed CC1101 is based on the ESP32, it supports Arduino IDE, ESP-IDF, and PlatformIO for firmware flashing. Follow this step-by-step guide to ensure a successful setup.
Step 1: Prepare Required Tools
Before starting, ensure you have the following:
- LILYGO T-Embed CC1101 development board
- USB-C data cable (for PC connection)
- Computer (Windows / macOS / Linux)
- Flashing software (Arduino IDE / ESP-IDF / Flash Download Tool)
- Official firmware (available on GitHub)
Step 2: Install Drivers (For Windows Users)
If your computer does not recognize the T-Embed CC1101, install the USB-to-Serial driver (CH9102 or CP210x).
Driver download links:
- CH9102 Driver: CH9102 Official Driver
- CP210x Driver: CP210x Official Driver
After installation, connect the board and check the Device Manager (Windows) or Terminal (macOS/Linux) to verify if the serial port (e.g., COM3 or /dev/ttyUSB0) is detected.
Step 3: Flashing Firmware (Choose a Method Based on Your Development Environment)
Method 1: Using Arduino IDE (For Beginners)
- Install ESP32 Board Package:
- Open Arduino IDE → Go to File > Preferences
- Add the ESP32 board manager URL:
https://raw.githubusercontent.com/espressif/arduino-esp32/gh-pages/package_esp32_index.json(ESP32S3 is a new chip, and the SDK version needs to be version 2.0.3 or above) - Open Tools > Board > Board Manager, search for ESP32, and install esp32 by Espressif Systems
- Select the Correct Board Configuration:
- Go to Tools > Board and select ESP32S3 Dev Module
- Set the following parameters:
- Flash Mode: QIO
- Flash Size: 16MB
- Partition Scheme: Huge App (3MB No OTA)
- Upload Speed: 115200
- Download and Flash the Firmware:
- Download the T-Embed CC1101 example code from GitHub
- Open an example project from the
examplesfolder - Select the correct COM port (COMx / ttyUSBx)
- Click Upload
Once flashing is complete, open the Serial Monitor to verify if the firmware is running successfully.
Method 2: Using ESP-IDF (For Advanced Users)
ESP-IDF is the official development framework for ESP32, recommended for advanced users.
- Install ESP-IDF:
- Windows Users: Download and install ESP-IDF Windows Installer
- macOS/Linux Users: Install ESP-IDF via Git
- Set Up Environment Variables (Required before using ESP-IDF)
- Download and Compile the Firmware:
- Clone the repository from GitHub
- Navigate to the project directory and compile the firmware
- Flash the Firmware:
- Connect the board and execute the flashing command
- After flashing, restart the device
Note: If flashing fails, try holding the BOOT button while reconnecting the USB cable to enter flash mode manually.
Method 3: Using Flash Download Tool (For Precompiled .bin Files)
If you have a precompiled
.bin firmware file, use ESP32 Flash Download Tool for flashing:- Download the Flashing Tool
- Configure Flash Addresses:
- Bootloader Address: 0x1000
- Partition Table Address: 0x8000
- Firmware Address: 0x10000
- Start Flashing:
- Select the correct serial port (COMx / ttyUSBx)
- Set baud rate to 115200
- Click Start to begin flashing
Step 4: Verify the Flashing Process
After flashing, verify that the firmware is running correctly:
- Using Arduino IDE Serial Monitor:
- Open the Serial Monitor
- Set baud rate to 115200
- Check if the device outputs logs
- Using ESP-IDF Terminal:
- Monitor the device output
- If you see “CC1101 Initialized Successfully”, the firmware has been flashed successfully
CC1101 Applications
The CC1101 is a low-power RF transceiver widely used in:
- Wireless data transmission (smart home, industrial control)
- Remote control systems (drones, remote devices)
- Environmental monitoring (IoT sensor networks)
- Smart metering (electricity meters, water meters)
Frequently Asked Questions (FAQs)
Q1: What is the maximum power output of CC1101? The maximum output power is approximately +10 dBm, but an external power amplifier (PA) can be used to boost the signal.
Q2: What is the transmission range of CC1101?
- Indoor (obstructed environment): 50-100 meters
- Outdoor (open environment): Up to 500-1000 meters (depending on antenna and power settings)
Q3: What frequency bands does CC1101 support? CC1101 operates within 300MHz – 928MHz, with common frequencies including:
- 433MHz (industrial control)
- 868MHz (European IoT networks)
- 915MHz (North American LoRa networks)
Conclusion
LILYGO T-Embed CC1101 is a versatile development board integrating ESP32 and CC1101, making it ideal for wireless data transmission, remote control, and IoT applications. It supports multiple development environments, including Arduino and ESP-IDF, enabling easy firmware flashing and project development.
If you need a reliable wireless communication solution, the T-Embed CC1101 is a great choice.
Purchase Now: LILYGO T-Embed CC1101
It is really a great and helpful piece of info. I am glad that you shared this useful info with us. Please keep us up to date like this. Thank you for sharing.
I’d need to check with you here. Which isn’t something I normally do! I take pleasure in reading a submit that can make individuals think. Additionally, thanks for permitting me to comment!
I actually wanted to post a small note to appreciate you for all the fantastic tactics you are giving out on this website. My time intensive internet research has at the end of the day been rewarded with incredibly good ideas to write about with my classmates and friends. I ‘d assert that many of us readers actually are extremely endowed to be in a magnificent site with many lovely individuals with valuable solutions. I feel truly grateful to have used the web pages and look forward to really more brilliant times reading here. Thanks a lot again for a lot of things.
Whoa! This blog looks exactly like my old one! It’s on a totally different subject but it has pretty much the same layout and design. Wonderful choice of colors!