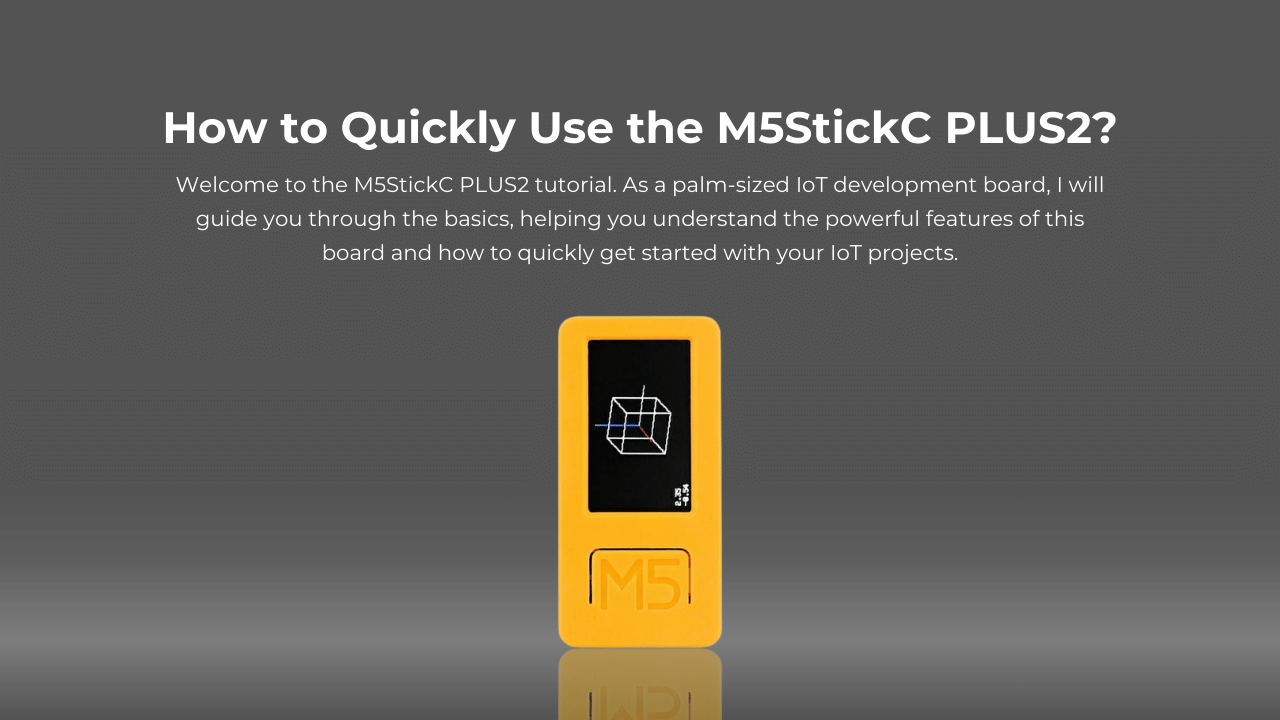
Hello everyone! Welcome to the M5StickC PLUS2 tutorial. As a palm-sized IoT development board, I will guide you through the basics, helping you understand the powerful features of this board and how to quickly get started with your IoT projects.
What is the M5StickC PLUS2?
M5StickC PLUS2 is a great choice for IoT and embedded system development. Despite its small size, it is equipped with the powerful ESP32-PICO-V3 chip, supporting both Wi-Fi and Bluetooth functions, making it suitable for various IoT applications. Additionally, M5StickC PLUS2 features a range of built-in sensors, including a 6-axis IMU, IR transmitter, microphone, and passive buzzer, making it perfect for wireless devices, sensor applications, and smart hardware development.

M5StickC Plus2
The M5StickC Plus2 offers a compact and versatile development kit designed to simplify your creative and technical projects. With an ESP32 chip, it enables Wi-Fi and Bluetooth connectivity, perfect for IoT and educational applications.
How Do I Set Up the Development Environment for M5StickC PLUS2?
Have you already installed the Arduino IDE or MicroPython? These are the most commonly used platforms for programming the M5StickC PLUS2. If not, don’t worry! Here’s how you can get started:
Installing Arduino IDE
- Install Arduino IDE:
- Download it from Arduino’s official site.
- Once installed, open Arduino IDE and add the board manager for M5StickC PLUS2. Go to File > Preferences and add the M5Stack URL in the Additional Boards Manager URLs field.
- Install Drivers: If you’re using Windows, make sure you install the necessary drivers for your M5StickC PLUS2. You can find them on the M5Stack website.
- Choose Your Board: Go to Tools > Board > M5Stack and select the M5StickC PLUS2.
Choosing MicroPython (Optional)
For Python enthusiasts, MicroPython is a great choice as it allows you to control the hardware directly using Python.
- Download the version suitable for your operating system from the MicroPython website.
- Follow the instructions on the official website to set up M5StickC PLUS2 with MicroPython.
How Do I Program My M5StickC PLUS2 for the First Time?
Isn’t it easy to get started? Let’s write the first program, where we will display a simple message on the screen. Here’s how:
Lighting Up the Screen: First Project
As a beginner, let’s start with a simple project: displaying “Hello, M5StickC PLUS2!” on the screen.
- Open Arduino IDE, create a new sketch, and enter the following code:
					#include <M5StickC.h>

void setup() {
  M5.begin();  // Initialize M5StickC PLUS2
  M5.Lcd.fillScreen(BLACK);  // Set the background color to black
  M5.Lcd.setTextColor(WHITE);  // Set the text color to white
  M5.Lcd.setTextSize(2);  // Set the text size to 2
  M5.Lcd.setCursor(10, 10);  // Set the text cursor position
  M5.Lcd.print("Hello, M5StickC PLUS2!");  // Display the text on the screen
}

void loop() {
  // Empty loop to keep the screen displaying
}
- Connect your M5StickC PLUS2 to your computer, select the correct serial port, and click the upload button. Once the upload is complete, you’ll see the message “Hello, M5StickC PLUS2!” displayed on the screen.
How Do I Use the Built-In Sensors on M5StickC PLUS2?
Wondering how to use the built-in sensors? The M5StickC PLUS2 comes with a 6-axis IMU, microphone, and more. Let’s get some data from the 6-axis IMU.
- Install M5StickC Library: Go to Arduino IDE > Tools > Manage Libraries and search for M5StickC to install it.
- Read IMU Data: Here’s a sample code to read the acceleration and gyroscope data from the 6-axis IMU:
					#include <M5StickC.h>

void setup() {
  M5.begin();  // Initialize M5StickC PLUS2
  M5.IMU.Init();  // Initialize IMU sensor
  M5.Lcd.fillScreen(BLACK);  // Set background to black
}

void loop() {
  float ax, ay, az;  // Acceleration data
  float gx, gy, gz;  // Gyroscope data

  // Get acceleration and gyroscope data
  ax = M5.IMU.accelX();
  ay = M5.IMU.accelY();
  az = M5.IMU.accelZ();

  gx = M5.IMU.gyroX();
  gy = M5.IMU.gyroY();
  gz = M5.IMU.gyroZ();

  // Display data on screen
  M5.Lcd.setCursor(10, 10);
  M5.Lcd.setTextSize(2);
  M5.Lcd.setTextColor(WHITE);

  M5.Lcd.print("Accel X: "); M5.Lcd.println(ax);
  M5.Lcd.print("Accel Y: "); M5.Lcd.println(ay);
  M5.Lcd.print("Accel Z: "); M5.Lcd.println(az);

  M5.Lcd.print("Gyro X: "); M5.Lcd.println(gx);
  M5.Lcd.print("Gyro Y: "); M5.Lcd.println(gy);
  M5.Lcd.print("Gyro Z: "); M5.Lcd.println(gz);

  delay(1000);  // Update every second
}
After uploading the code, M5StickC PLUS2 will display the real-time data of acceleration and gyroscope on the screen. The data will change as you move the board.
How Do I Expand the Functionality with Additional Modules?
Are you looking to extend your project? You can easily connect external modules like IR transmitters or motion sensors to your M5StickC PLUS2. Let’s explore how to use the IR transmitter.
Example 1: Using the IR Transmitter for Remote Control
Can you imagine controlling a device with the M5StickC PLUS2? You can use the IR transmitter to control TVs, air conditioners, and more.
Required Hardware:
- IR Transmitter Module: To send infrared signals to external devices.
- M5StickC PLUS2: The main control device.
Steps:
- Wiring: Connect the IR transmitter module to a GPIO pin on M5StickC PLUS2 (e.g., GPIO22).
- Install IRremote Library: In Arduino IDE, go to Tools > Manage Libraries, search for IRremote and install it.
- Write Code:
					#include <M5StickC.h>
#include <IRremote.h>

int ir_tx_pin = 22;  // IR transmitter pin
IRsend irsend;

void setup() {
  M5.begin();  // Initialize M5StickC PLUS2
}

void loop() {
  irsend.sendNEC(0xF7C03F, 32);  // Send IR signal to control a device
  delay(1000);  // Wait for 1 second before sending the next signal
}
Upload the code, and the M5StickC PLUS2 will transmit the infrared signal. You can use this for controlling devices such as turning on/off a TV.
Example 2: Using Microphone for Sound Detection
M5StickC PLUS2 includes a microphone that can detect ambient sound. You can create a simple sound detection system that triggers an action when the sound level exceeds a certain threshold.
Steps:
- Write Code: Read the microphone input and trigger actions based on sound levels.
- Sample Code:
					#include <M5StickC.h>

int mic_pin = 35;  // Microphone input pin
int threshold = 500;  // Sound threshold

void setup() {
  M5.begin();  // Initialize M5StickC PLUS2
  M5.Lcd.fillScreen(BLACK);
  M5.Lcd.setTextSize(2);
  M5.Lcd.setTextColor(WHITE);
}

void loop() {
  int sound_level = analogRead(mic_pin);  // Read the microphone level

  if (sound_level > threshold) {
    M5.Lcd.setCursor(10, 10);
    M5.Lcd.print("Loud Sound Detected!");
  } else {
    M5.Lcd.setCursor(10, 10);
    M5.Lcd.print("No Loud Sound");
  }

  delay(500);  // Update every 500ms
}
After uploading, when the ambient sound exceeds the set threshold, M5StickC PLUS2 will display Loud Sound Detected! on the screen.
How Can I Utilize Community Resources to Accelerate My Projects?
Would you like to speed up your development process? There is a vibrant community that supports M5StickC PLUS2, helping developers get quick answers and resources.
Example Projects and Code
On M5Stack’s official website and community,
Open-Source Libraries and Extensions
M5StickC PLUS2 is compatible with Arduino and MicroPython libraries, allowing you to easily integrate more functionality by using open-source libraries. This lets you quickly connect sensors, peripherals, and modules without having to write everything from scratch.
Developer Forum
M5Stack’s active developer forum is a valuable resource where you can get technical support, share ideas, and quickly resolve development issues. It’s an invaluable tool that helps you overcome challenges and accelerates your project development.
Conclusion
Isn’t the M5StickC PLUS2 just amazing? From simple projects like displaying messages on the screen to complex applications like motion detection and remote control, this board can do it all. Its small size, combined with its powerful sensors and extensibility, makes it perfect for IoT and embedded system development. I hope this guide has helped you get started and sparked ideas for your next project with M5StickC PLUS2. Happy coding!